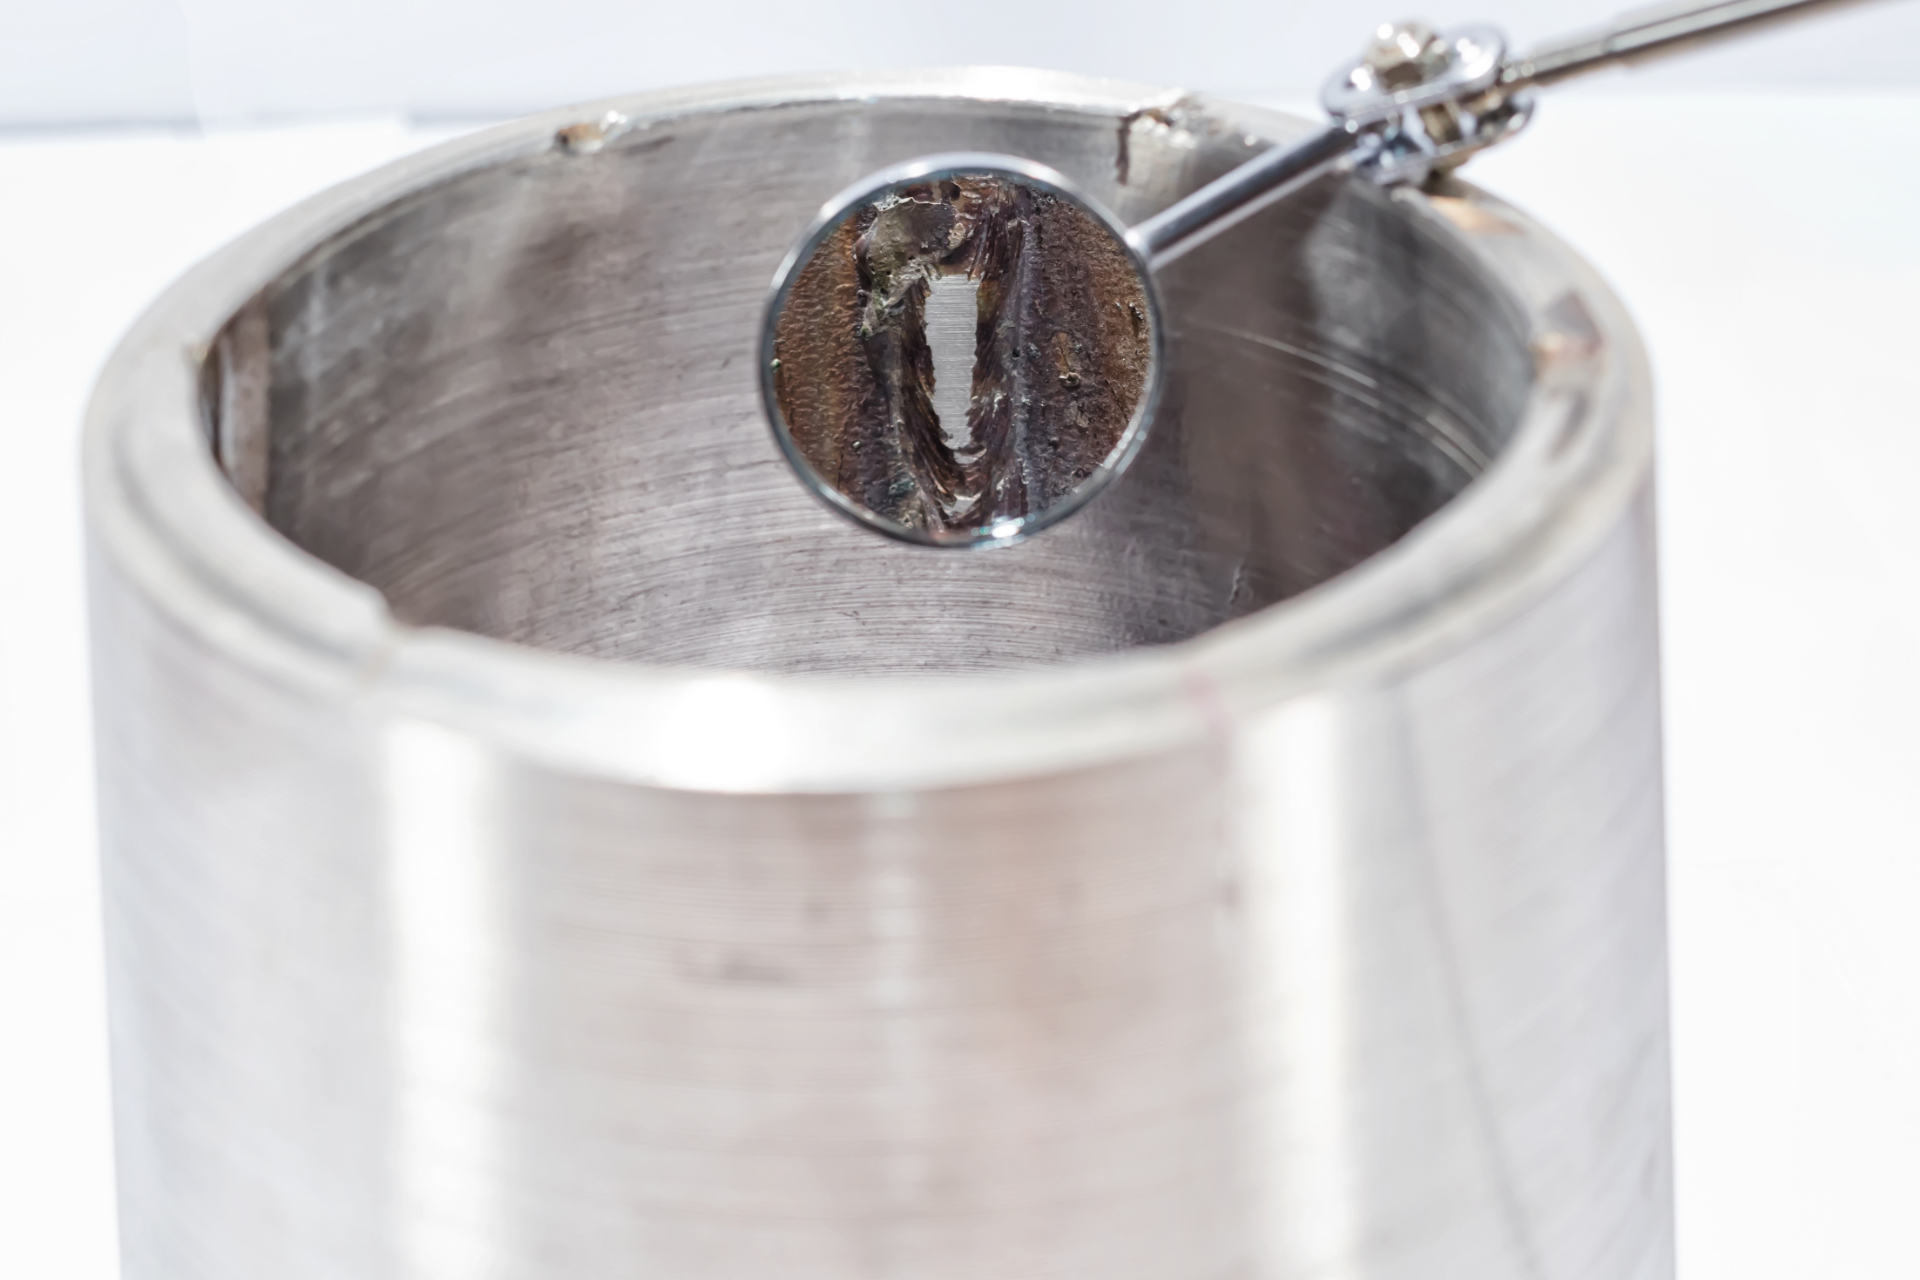
Visual Testing [VT]
Visual Testing refers to an NDT method which uses only the naked eye, either aided or non-aided, to collect data on material by observing it. Visual Testing is the most basic way to examine a material or object without altering it in any way. Visual inspections are generally performed as a precursor to more advanced inspection techniques that are capable of detecting flaws beyond what the human eye can see, such as subsurface cracks.

Visual Testing [VT] is performed with the naked eye, by inspectors visually reviewing a material or asset. It can be assisted with the use of flashlights to the object being examined or with a Remote Visual Inspection [RVI] tool, like an inspection camera. To get the equipment in place, inspectors may use a robot or drone, or may simply hang it from a rope.
VT is the oldest and most basic method of inspection, yet it still has several advantages over more high-tech methods. Compared to other methods, it is far more cost-effective and one of the easiest testing techniques to perform. It is also one of the most reliable techniques. A well-trained inspector can detect most signs of damage. Other benefits include:
- Low cost
- Portable equipment (if any)
- Immediate results
- Minimum special skills required
- Minimum part preparation
- Only suitable for visible parts/ surfaces
- Usually detects larger defects
- Indications may be falsely misinterpreted for defects
- Quality of inspection is influenced by surface conditions, physical conditions, and environmental factors
Visual Testing can be applied to inspect practically every visible asset from castings, machined components and welds in several industries.

Our VT inspections can be applied to a variety of industries, from the largest tanks and equipment to the smallest materials, in line with codes and standards. Newtron Technologies applies Visual Testing looking for a range of problems and attributes according to the needs of the project, including:
- Banding
- Corrosion
- Cracks
- Dimensional uniformity
- Material consistency
- Surface flaws
- Surface discontinuities
International Organization for Standardization (ISO)
ISO 3058 Non-destructive testing – Aids to visual inspection – Selection of low-power magnifiers (1998)
ISO 11971 Steel and iron castings – Visual examination of surface quality (2008)
ISO 19959 Visual examination of the surface condition of investment castings – Steel, nickel alloys and cobalt alloys (2005)
ISO 17637 Non-destructive testing of welds – Visual testing of fusion-welded joints (2016)
ISO 2128 Anodising of aluminium and its alloys – Determination of thickness of anodic oxidation coatings – Non-destructive measurement by split-beam microscope (2010)
ISO 5817 Welding — Fusion-welded joints in steel, nickel, titanium and their alloys (beam welding excluded) — Quality levels for imperfections (2014)
American Society of Mechanical Engineers (ASME)
ASME Boiler and Pressure Vessel Code, Section V
This information is a collection of references. While we have made every attempt to ensure that information on this site is updated, Newtron is not responsible for any errors or omissions, or for the results obtained from the use of this information. It is not guaranteed to be complete, correct, current, or up to date and may be changed without prior notice.
