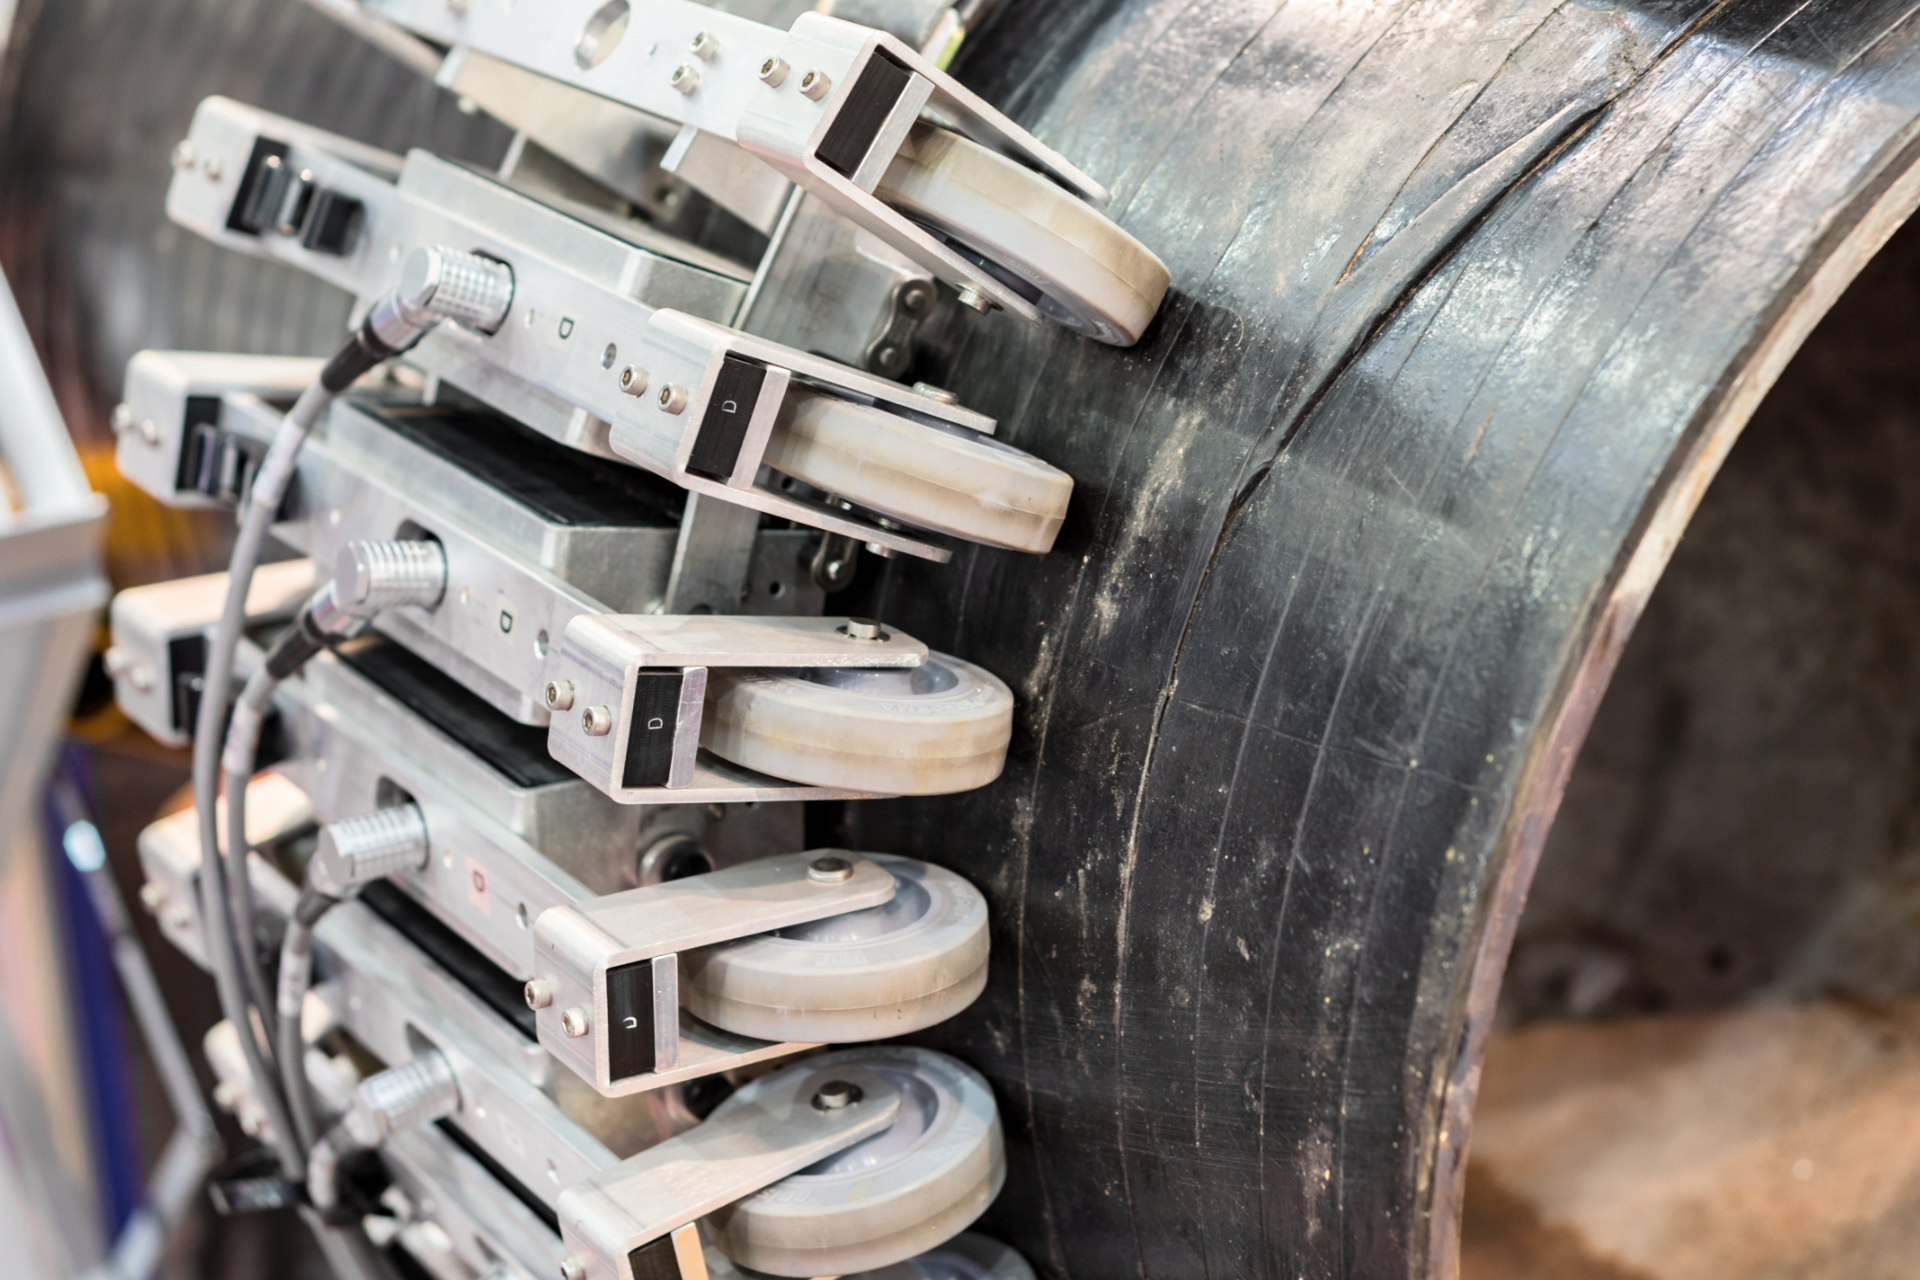
Time-of-Flight Diffraction [TοFD]
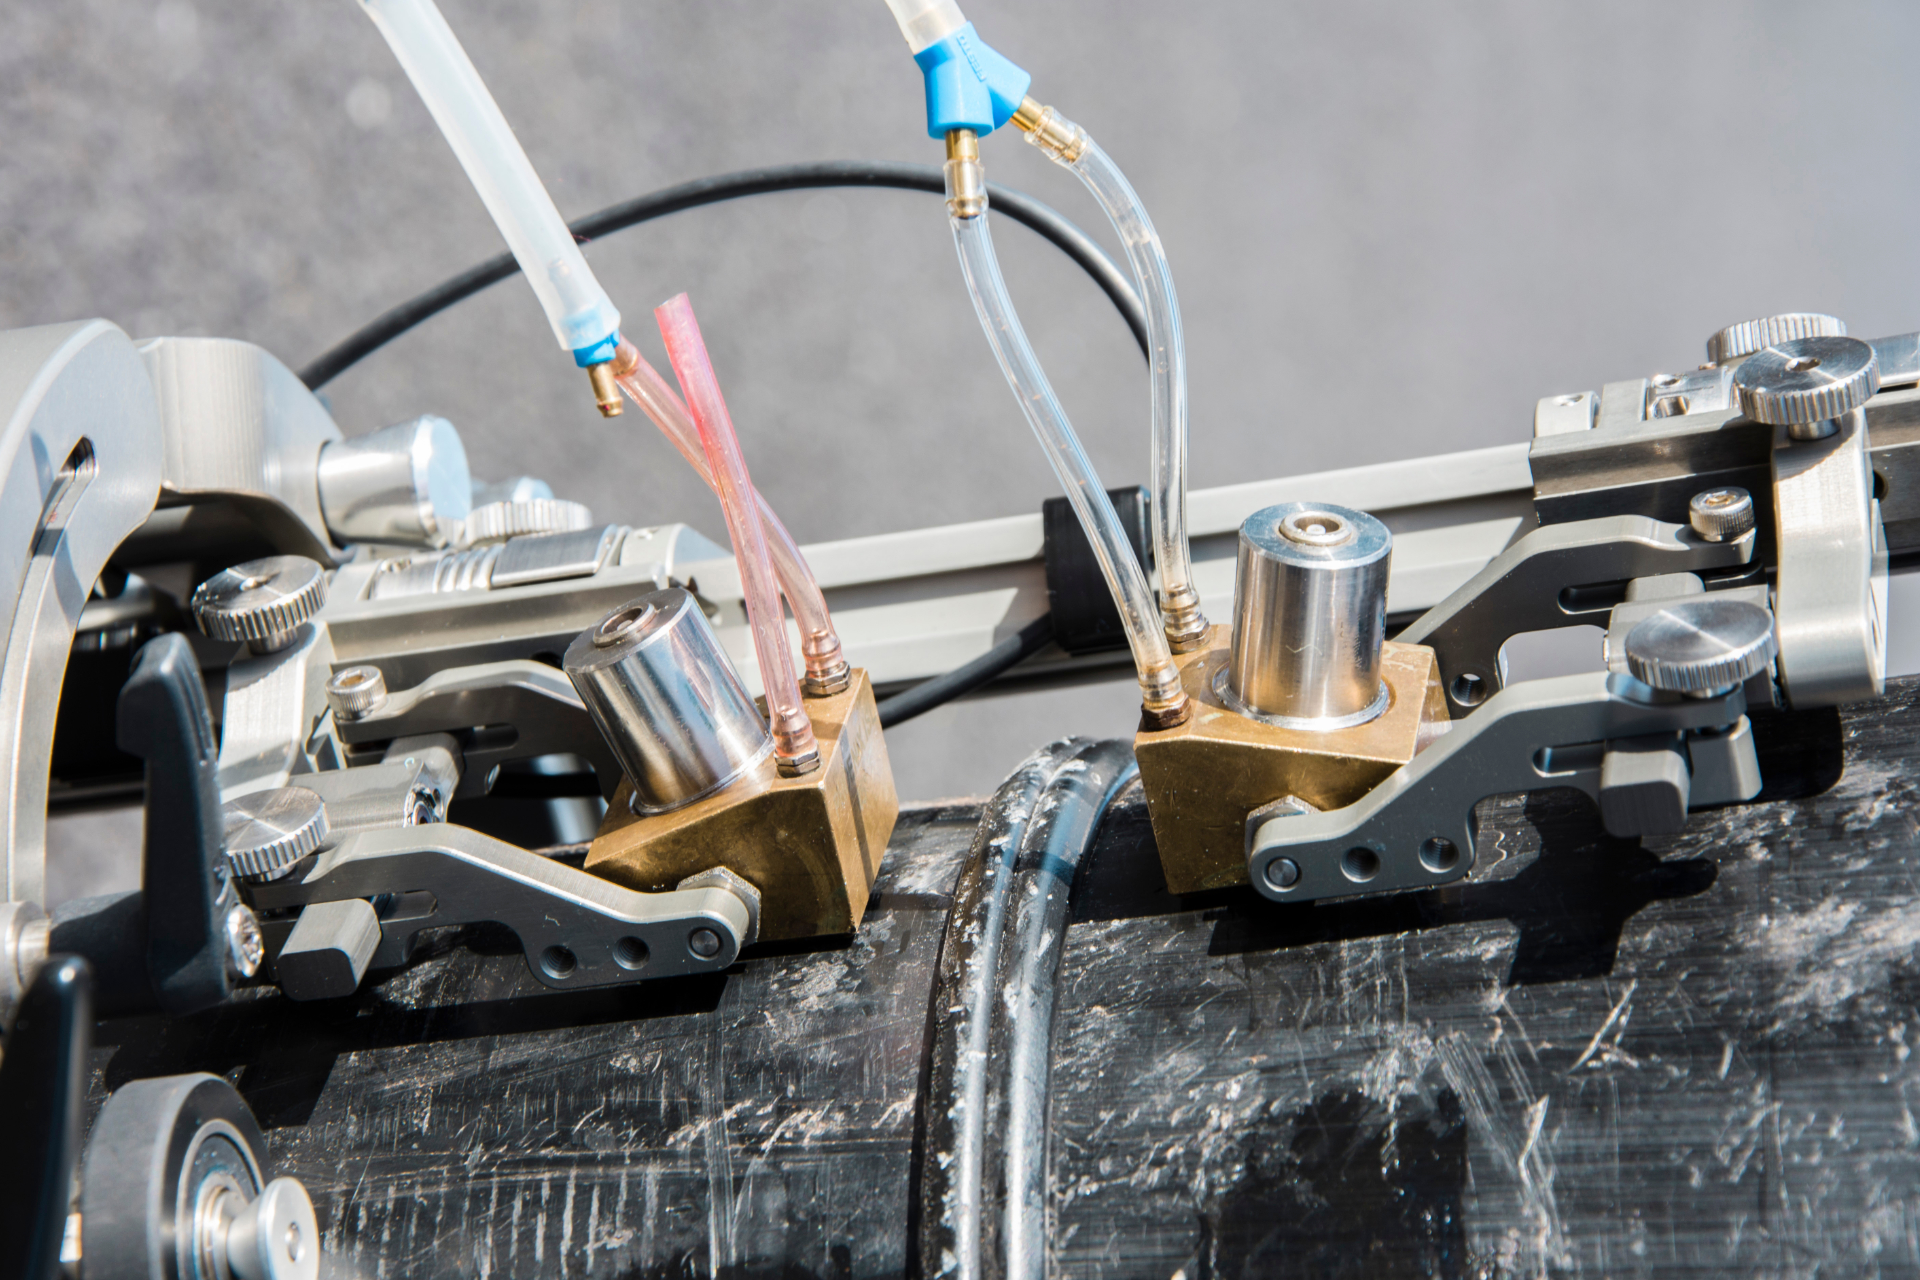
Time-of-Flight Diffraction [ToFD] is an ultrasonic technique which measures the time it takes for a pulse to “fly” from a transmitting probe to a receiving probe. Divergent beams are used and it is necessary to scan the ToFD probe pair over the flaw for the technique to function correctly.
What distinguishes the technique from a standard pitch-catch configuration is the D which stands for diffraction. The technique relies on the detection of the diffracted sound wave which is generated from both the top and bottom edges of a planar defect.
The time of arrival of the diffracted signals from the flaw tips is measured with respect to the probe firing time. Time measurement can be done to great accuracy. The combination of this accuracy and the fact that the scattering source is the flaw tip forms the basis of a highly accurate sizing technique.

The inspector uses a pair of ultrasonic probes, placing them on opposite sides of a weld-joint or in general the area to be tested. A transmitter probe emits an ultrasonic pulse which is picked up by the receiver probe on the opposite side. In an undamaged part, the signals picked up by the receiver probe are from two waves: one that travels along the surface (lateral wave) and one that reflects off the far wall (back-wall reflection). When a discontinuity such as a crack is present, there is a diffraction of the ultrasonic sound wave from the top and bottom tips of the crack. Using the measured time of flight of the pulse, the depth of the crack tips can be calculated automatically by trigonometry application. This method is even more reliable than traditional radiographic, pulse echo manual UT and automated UT weld testing methods.
There are several advantages of ToFD that include but are not limited to:
- Speed of detecting discontinuities
- Accurate positioning and sizing of discontinuities
- Reproducibility and accuracy is proven <0.5mm
- Permanent digital records with graphic images
- Detection is independent of type and orientation of discontinuities
- Consistent results between pre- and post-heat treatment
- Accurate method available for measuring the growth of discontinuities
- Higher probability of detection combined with other UT techniques
- Data is collected in B-scan or D-scan format to improve the detection of discontinuities
- Planar discontinuities, which are not perpendicular to measured surfaces can be detected
- Higher POD which means, improving risk reduction and calculation
- No evacuation of areas during operation because no radiation is used
- Inspection results are immediately available
The disadvantages of the ToFD method that so far have been found are mentioned below:
- Inspector experience is important to set the sensitivity level correctly in order to evaluate the images
- There is a dead zone for defect detection under the surface. It means defects close to the surface could not be detected. This may be compensated by Magnetic Particle Testing.
- There is a minimum test-object thickness requirement
Time of Flight Diffraction, is one of the most promising ultrasonic techniques for the examination of welds on pressure vessels in lieu of radiography; for pipe weld quality or crack detection and weld root erosion. Despite some problems regarding design of scanning and difficult characterisation of overlaping indications, advantages of ToFD make it the useful tool in in-service inspection of castings.
In ToFD the gain must be very high – which produces a very high back wall echo – making the method not suitable for coarse grained materials/ weldment e.g. austenitic stainless steel and of austenitic nickel-chromium-based superalloys.

Newtron ToFD services can be used to assess a wide array of assets in Petrochemical, oil refining and power generation industries, Offshore and marine industries, Manufacturing industries, and Defence sector and Inspection of bridges.
International Organization for Standardization (ISO)
ISO 10863 Non–destructive testing of welds ultrasonic testing use of time of flight diffraction technique [TοFD] (2011)
ISO/DIS 10863:11, Welding – Use of time-of-flight diffraction technique [TοFD] for examination of welds
ISO 15626 Non-destructive testing of welds — time-of-flight diffraction technique [TοFD] — acceptance levels (2018)
ISO 16828 Non-destructive testing — ultrasonic testing — time-of-flight diffraction technique as a method for detection and sizing of discontinuities (2012)
ISO/WD TS 24399 Thermoplastic pipes for the conveyance of fluids — inspection of polyethylene butt fusion joints using time of flight diffraction testing [under development]
ISO 20890-1 Guidelines for in-service inspections for primary coolant circuit components of light water reactors — part 1 mechanized ultrasonic testing (2020)
European Committee for Standardization (CEN)
EN 583-6, Non-destructive testing – Ultrasonic examination – Part 6: Time-of-flight diffraction technique as a method for detection and sizing of discontinuities
EN 15617, Non-destructive testing of welds – Time-of-flight diffraction technique [TοFD] – Acceptance levels
American Society of Mechanical Engineers (ASME)
ASME Boiler and Pressure Vessel Code, Section V
This information is a collection of references. While we have made every attempt to ensure that information on this site is updated, Newtron is not responsible for any errors or omissions, or for the results obtained from the use of this information. It is not guaranteed to be complete, correct, current, or up to date and may be changed without prior notice.
